From a Lump of Clay to Your Favorite Bowl
How is a ceramic bowl made? It's more than just an object: it's a special process. We show you every step of how we create a bowl in our workshop. Discover the magic!
Step 1: Preparing the Clay – Bringing the Raw Material to Life
Before the clay even touches the wheel, it needs to be prepared. We select the ideal clay body, which can vary in color and composition depending on the finish we’re looking for in the bowl. Then comes the wedging (kneading).
- Intense Wedging: This step is crucial. With our own hands, we work the clay over and over, removing any air bubbles and achieving the perfect plasticity. It’s like “waking up” the earth, homogenizing it and giving it the flexibility needed for the throwing phase. Well-wedged clay is the foundation of a strong, well-formed bowl.
Step 2: Centering on the Wheel – The Heart of the Creation
With the clay ready, we place it precisely in the center of the potter’s wheel. This is, for many, the most challenging and fascinating step.
- The Art of Centering: It’s essential that the “lump” of clay is perfectly centered. As the wheel spins, we apply pressure to make the clay rise and stabilize in the middle. It requires concentration and a very sensitive touch. Good centering is key to ensuring the bowl doesn’t wobble during creation and maintains a symmetrical shape.
Step 3: Opening the Clay – Creating the Inner Space
Once centered, we begin to open the clay to form the base and inner space of the bowl.
- The Thumb as a Guide: With thumbs in the center and the wheel spinning, we apply gentle but constant pressure to create a cavity in the heart of the clay. Simultaneously, the outer hands support and guide the outer wall. The depth of this opening will determine the final height of the bowl.
Step 4: Pulling Up the Walls and Shaping – The Sculpture Spins
Now that we have the base and inner space, we begin to pull up the walls of the bowl. This is the moment where the shape begins to define itself.
- Elevating the Wall: With one hand on the inside and the other on the outside, we apply controlled pressure to push the clay upwards, creating the walls of the bowl. We repeat this process several times, thinning the walls and expanding the diameter if necessary. The wheel’s speed, the pressure of the hands, and the clay’s hydration are crucial to achieving the desired shape, whether it’s a wide, shallow bowl or a deeper, more enclosed one.
Step 5: Drying – A Necessary Rest
Once the bowl has its final form on the wheel, we carefully remove it and let it dry.
- Slow and Gradual Drying: This process is vital to prevent cracks and warping. The bowl gradually loses moisture, becoming firmer and less fragile. Sometimes, we cover it partially to ensure uniform drying across all its parts.
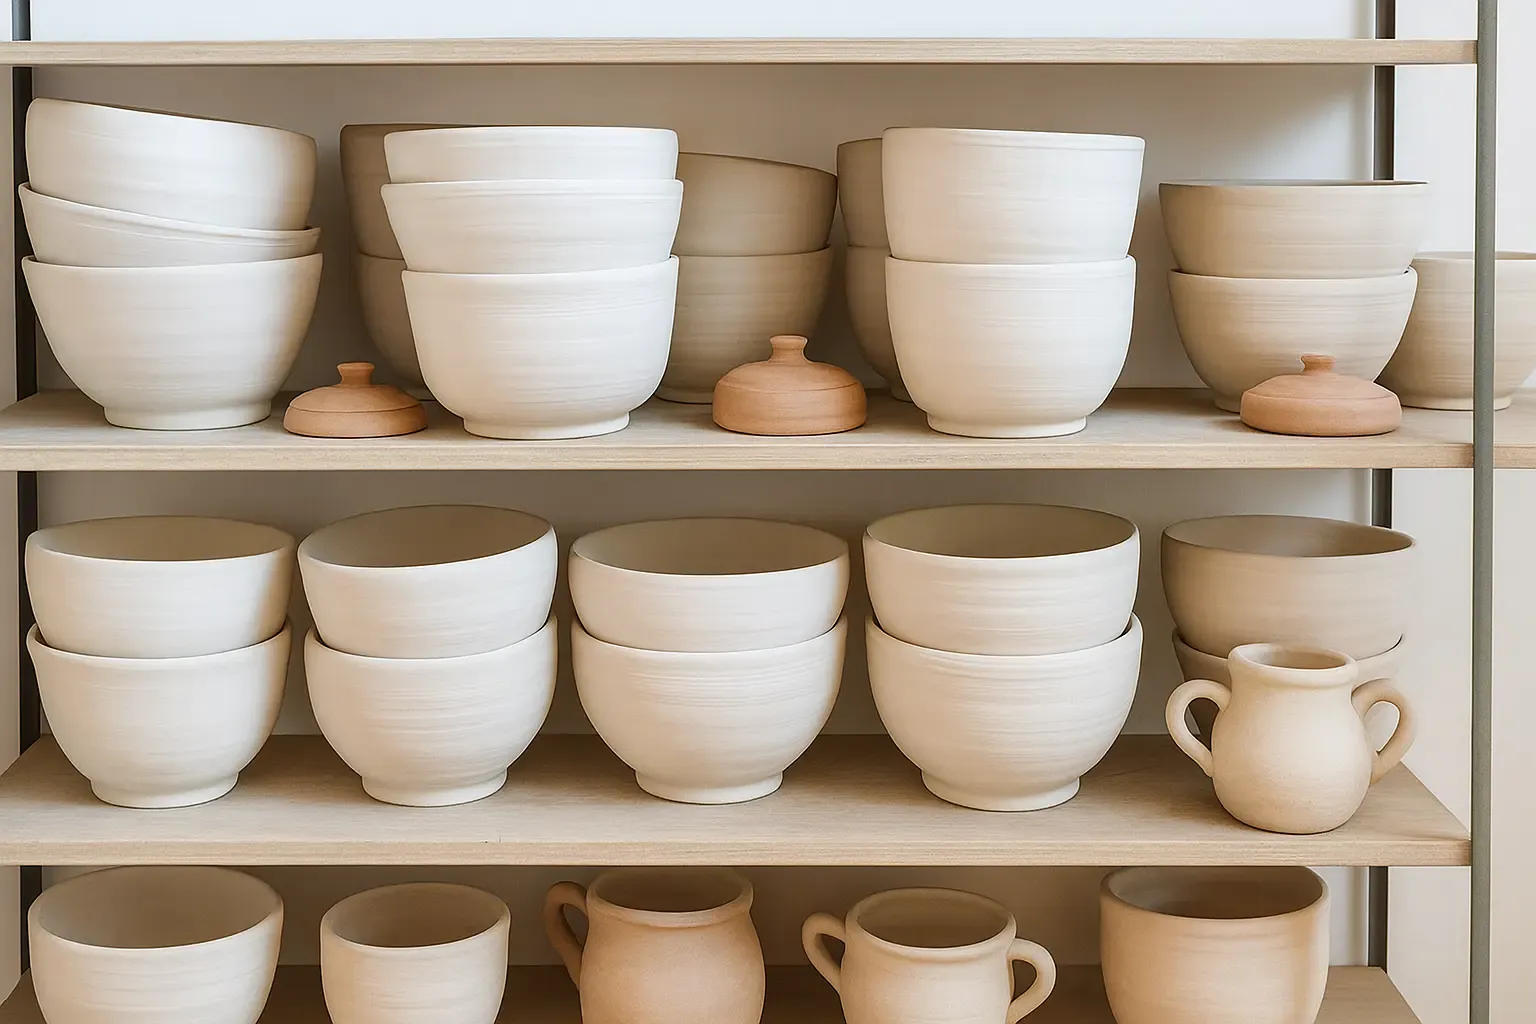
Step 6: Trimming (Optional, but Common) – Polishing the Details
Once the bowl is in a “leather-hard” state (semi-dry), we often return it to the wheel for trimming.
- Finishing and Foot: We place the bowl upside down on the wheel and, using special tools, remove excess clay from the base and shape the “foot ring” or support. This step not only refines the finish but also creates a stable and neat base.
Step 7: The First Firing (Bisque Firing) – Gaining Firmnes
When the bowl is completely dry (which can take days or weeks), it’s ready for its first firing, known as “bisque firing.”
- Initial Transformation: In this step, the kiln reaches temperatures of around 900-1000°C (1650-1830°F). The clay transforms into a porous, firm ceramic material, though not yet waterproof. It’s a fundamental step that prepares the bowl for receiving the glaze.
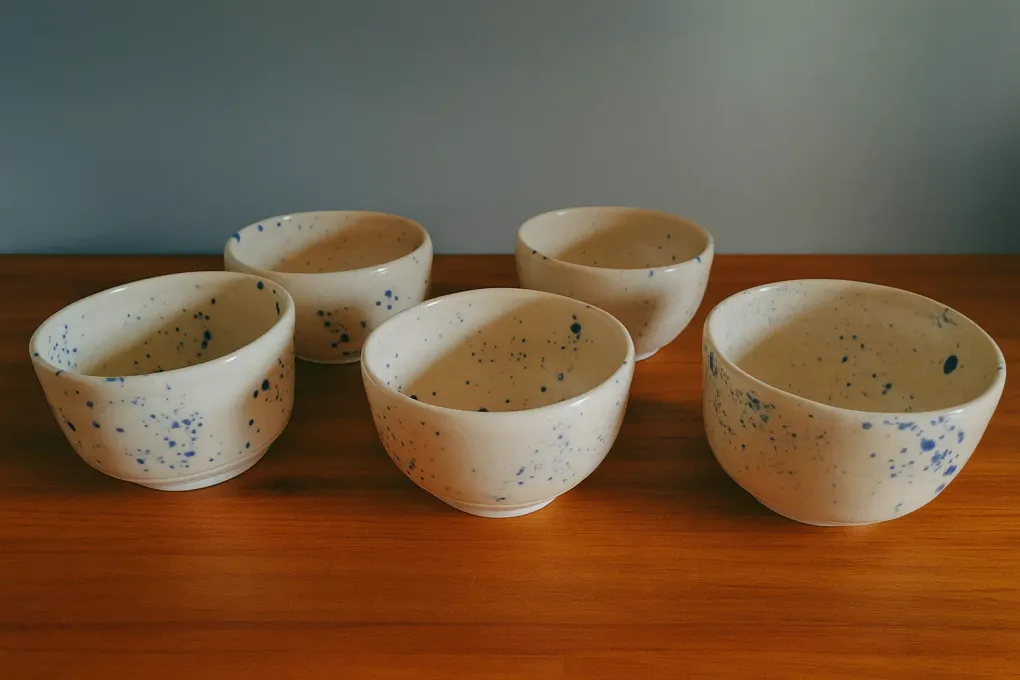
Step 8: Glazing – Adding Color and Shine
This is where the bowl truly acquires its personality and final touch!
- Glaze Application: We dip the bowl into a bath of liquid glaze, spray it, or brush it on. Glazes are suspensions of minerals that, when melted at high temperatures, create a glassy, waterproof layer with the desired color and texture. It’s an art in itself, as each glaze reacts uniquely in the kiln.
Step 9: The Second Firing (Glaze Firing) – Fire Reveals the Art
The glazed bowl returns to the kiln for its final firing, at even higher temperatures (between 1060°C / 1940°F, depending on the type of clay and glaze).
- The Magic of Fire: This firing melts the glaze onto the bowl’s surface, creating a glossy, matte, or textured finish, and making it finally resistant and waterproof. It’s a moment of great anticipation, as the glaze’s true color and texture are only fully revealed once the kiln cools.
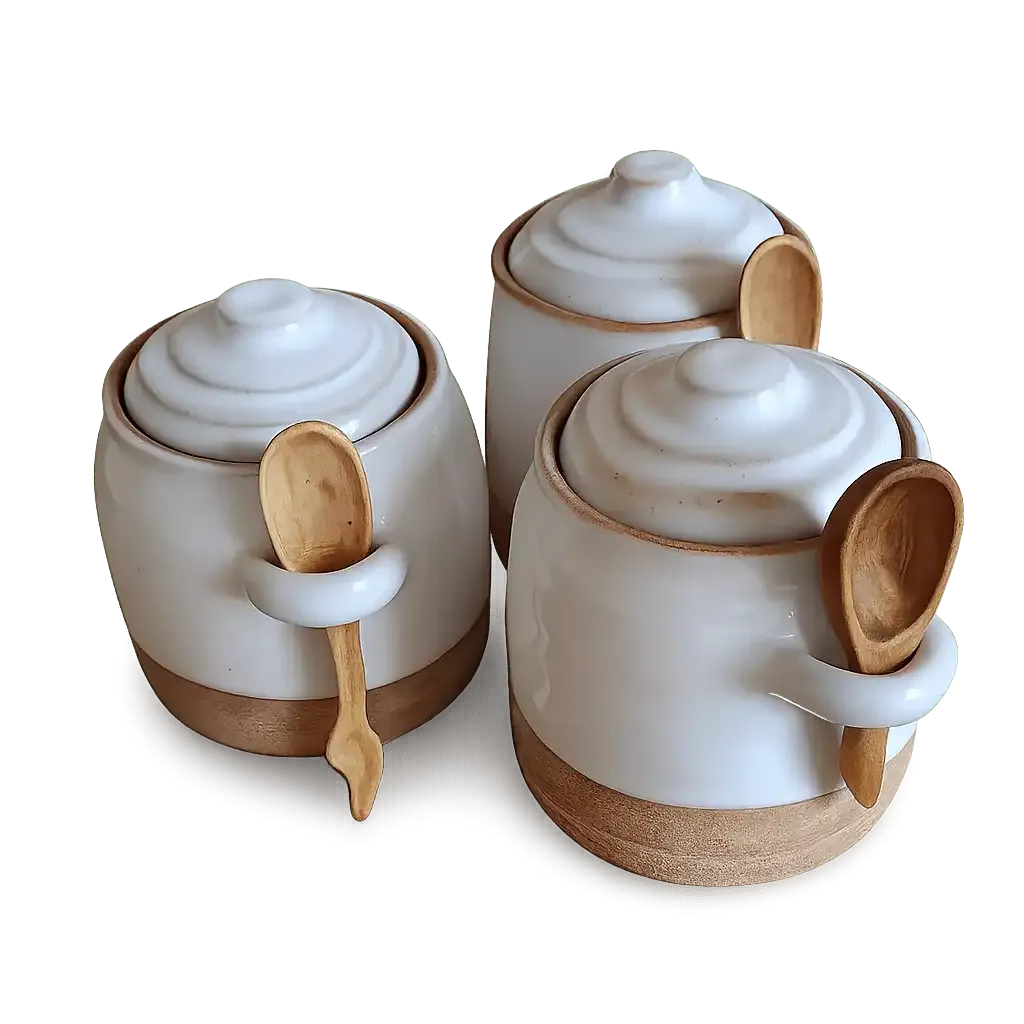
Your Bowl, A Unique Work of Art
Every bowl we create carries not only the clay and the fire but also the patience, skill, and soul of the artisan. It’s an object that has gone through multiple transformations, from a lump of earth to a functional and beautiful element on your table. The next time you use one of our bowls, we hope you feel that connection to the artisan process and the story it holds.